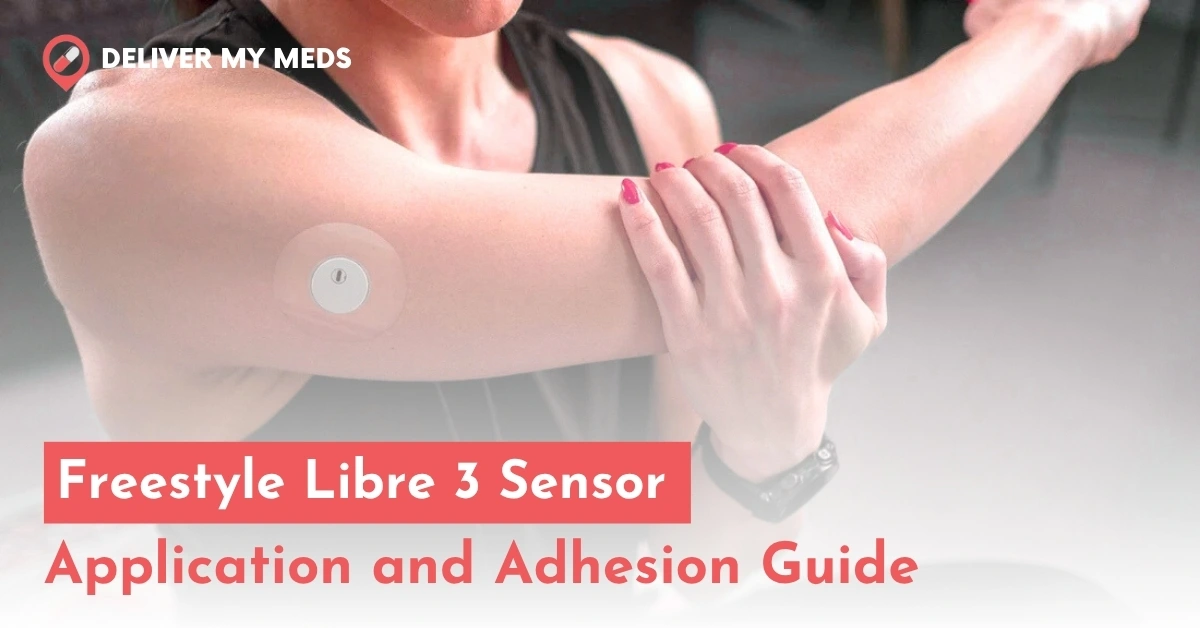
If you’re used to insulin shots or checking your sugar with fingersticks, the Freestyle Libre 3 sensor might seem confusing at first. But don’t worry—it works differently and doesn’t cause the same discomfort. This CGM (Continuous Glucose Monitoring) device is applied to the back of your upper arm. It checks your glucose levels through the skin (not with a needle) and sends updates all day long.
To get the best results, you need to prepare your skin properly before applying the sensor. Skipping this step can lead to errors like “Sensor Error” or “Check Sensor.” You can order the Freestyle Libre 3 easily from DeliverMyMeds (DMM) using insurance or by paying yourself. In this guide, we’ll explain how to apply it, fix common problems, and make sure it works well for the full 14 days.
Freestyle Libre 3 Sensor Kit: Item Breakdown
As you open the box, don’t just jump straight to applying as a beginner. First, understand the full contents of the sensor kit for correct sensor application and uninterrupted continuous glucose monitoring. Here’s what each item means for secure placement and real-time data transfer.
| Item | Function |
| Sensor Pack | Preloaded, sterile unit containing the sensor and adhesive base |
| Sensor Applicator | Spring-loaded device that inserts the sensor beneath the skin |
| Alcohol Wipe | Used to disinfect the back of the upper arm prior to application |
| User Instructions | Provides procedural steps for proper Freestyle Libre 3 sensor application |
| Optional Materials | Includes a quick start guide or reference card (only sometimes) |
Freestyle Libre 3 Sensor Application Technique
Correct Libre 3 sensor application is crucial for the performance as it affects the adhesion, signal stability, and accuracy of data. The steps below outline exactly how to apply Freestyle Libre 3 using sterile technique and manufacturer-verified procedures.
1. Identify the Best Place to Apply
- Choose a flat area on the back of the upper arm.
- Avoid locations with:
- Moles, tattoos, scarring, or irritation
- Skin folds or pressure zones from clothing
- Recent insulin injection sites (maintain ≥1 inch distance)
- Switch arms with each new application cycle.
2. Prepare the Skin for Sensor Application
Once you know the proper place to install the Freestyle Libre 3 sensor, it’s time to prepare the skin for sensor adhesion. These are optional, but they still affect stickiness.
- Wash the area using non-moisturising, fragrance-free soap.
- Dry thoroughly with a clean towel.
- Disinfect using the provided alcohol wipe; allow skin to air dry fully.
- Additional prep tips:
- Shave excess hair to ensure full contact.
- Avoid lotions, oils, or any product residue.
- Delay application until skin is completely dry post-showering or sweating.
3. Open the Freestyle Libre 3 Sensor Pack
Now that your skin is ready, open it! Keep in mind that,
- The sealed sensor pack should only be opened when you are ready to apply.
- Confirm the sensor code matches the sensor applicator.
- Do not touch the sensor base or internal components.
- Set the open pack on a clean surface, face-up.
4. Activate the Sensor Applicator
- Firmly twist and remove the cap from the pre-assembled sensor applicator.
- Reattaching the cap can cause damage, so do not do it.
- Avoid touching the inside of the applicator to preserve sterility.
- Confirm the device is intact and aligned with the sensor pack lot code.
5. Apply the Sensor Using the Applicator
- Position the applicator perpendicular to the cleaned area on the upper arm.
- Push down firmly until a click indicates the sensor has been inserted.
- Hold for 1-2 seconds, then slowly lift the applicator straight off the skin.
- Press gently around the sensor’s adhesive border to secure it in place.
Note: The insertion needle retracts automatically and does not remain in the skin.
6. Start the Sensor via the FreeStyle Libre 3 App
- Open the FreeStyle Libre 3 app on your compatible device.
- Select the “Scan New Sensor” function.
- Place the phone on the sensor and slide it until you perceive a beep and vibration.
- The sensor will initialise and begin monitoring glucose levels in real time after 60 minutes.
How to Remove Freestyle Libre 3?
Proper removal of the Freestyle Libre 3 sensor is necessary to avoid skin trauma, since it can turn into an infection quickly. The sensor’s flexible backing is designed for removal without professional assistance. Do this for easy sensor dislodging during wear.
1. Find the Adhesive Edge
- There’ll be a loose edge of the adhesive border surrounding the sensor.
- Find it and gently lift a corner using clean fingertips. You can also use a blunt medical tool (e.g., a plastic tweezer edge) without pinching the skin.
2. Peel Off the Sensor Slowly
- Hold the skin stretched with one hand.
- Use your free hand to slowly remove the sensor in one continuous motion to prevent skin irritation or sticky residue.
- Do not “snatch off” or remove the sensor abruptly.
3. Use Adhesive Removers (Optional)
- For sensitive or dry skin, you can add a small amount of medical adhesive remover (e.g., Uni-Solve) or baby oil around the sensor base to loosen the adhesive.
- Wait briefly to ensure the product has settled before removing.
4. Check the Area
- After removing the FreeStyle Libre 3 Sensor Application, examine the skin for redness, rash, or leftover adhesive.
5. Dispose of the Sensor Correctly
The Freestyle Libre 3 sensor contains components classified as electronic waste, so follow local waste disposal regulations for:
- Electronic devices
- Lithium batteries
- Materials exposed to body fluids
Do not discard the sensor in household trash if your area’s local laws have rules for the disposal of medical devices through standard waste streams.
When to Replace Your Freestyle Libre 3 Sensor
The Freestyle Libre 3 sensor functions for exactly 14 days from activation. To maintain zero data loss, the sensor must be replaced immediately at the end of each wear period. Timely replacement makes sure that there’s no data loss and people with type 1 or type 2 diabetes get accurate glucose level analysis without lapses in monitoring.
Freestyle Libre 3 Sensor: Preventing Sensor Dislodgement
The obvious tip is to pay careful attention during daily activities, especially around Freestyle Libre 3 insertion, physical movement, and moisture exposure. The following sensor placement tips and Libre 3 adhesive tips reduce the risk of early detachment:
- During dressing, do not pull clothing across the sensor. Wear loose, breathable fabrics.
- You can bathe or swim as the sensor is water-resistant. But after exposure, pat dry and never rub or towel across it.
- You can shower with Libre 3 but use an over-bandage during intense workouts or contact sports.
- Prevent impact from furniture, seat belts, or door frames.
- Use approved adhesives: Tegaderm, Skin-Tac, Mastisol, or protective barrier wipes to increase hold.
- Do not apply over damaged skin; allow alcohol to dry fully before insertion; press firmly during application.
Why Proper Placement Matters For Freestyle Libre 3 Sensor
Accurate glucose tracking with the Freestyle Libre 3 depends entirely on correct sensor application. The placement is what enables the sensor filament to maintain contact with the interstitial fluid beneath the skin. Here’s how it works to continuously monitor fluid between the cells:
- Interstitial Fluid Monitoring: The sensor measures glucose levels from interstitial fluid, not blood, providing dynamic data throughout the day.
- Real-Time Data Transmission: Values are sent continuously to the app, showing current levels, directional trends, and historical patterns.
- Why Proper Placement Matters: If the sensor is misapplied or lifted, fluid contact breaks, resulting in inaccurate readings or complete data loss.
Freestyle Libre 3 App: Supported Devices and OS
Only certain iPhone and Android models can run the Freestyle Libre 3 app. Proper compatibility allows quick sensor pairing, real-time readings, and uninterrupted alerts.
Device & OS Requirements
| Brand | Devices Supported | OS Requirement |
| Apple | iPhone 8 and newer | iOS 11 or later |
| Samsung | Galaxy S20, S21, S23 5G | Android 11 or later |
| Pixel 5 and above | Android 11 or later | |
| Motorola | Moto G6 and newer | Android 11 or later |
Key Compatibility Tips
- How to install Libre 3? Use official app stores only, like the Play Store or App Store.
- Must support Bluetooth and (for Android) NFC.
- The app does not scan from Apple Watch, but view-only sync is possible.
- Do not use beta OS or rooted/jailbroken devices.
- For full Libre 3 app compatibility, check Abbott’s official device list.
Start Your Journey with DMM
Getting the Freestyle Libre 3 sensor through Deliver My Meds (DMM) ensures the device is shipped accurately, billed correctly, and supported clinically. We handle insurance processing, auto-refills, and supply tracking, eliminating common pharmacy delays or coverage errors. Each sensor is matched to approved devices and arrives ready for immediate use.
For patients needing dependable, continuous glucose monitoring access without disruptions, DMM offers a licensed, compliant path with end-to-end support. Start your CGM program to stay aligned with your treatment plan and without unnecessary pharmacy hurdles or leaving your home!


